As promised my technique for finishing a small ornament. I also use this for scissor fobs. I hope a picture says a thousand words.

 First remove the corners for ease of folding for the next stage.
Finger fold each side across the point of each piece.


Now fold along the sides as shown.
Place the two pieces together and using quilting thread or unwaxed dental floss start whip stitching them together from the top of the piece. This should be as tight as possible without breaking the thread.


Continue until only one side is open, stuff as firmly as required. Now continue stitching until only a small opening is left at the top. This is to allow you to insert the beginning and end of the decorative cording (I usually make mine using the same thread as in the piece for a custom look).


When I stitch on the cording I have the needle coming out into the piece as shown. This allows me to stitch the cording on firmly and without the stitches showing.

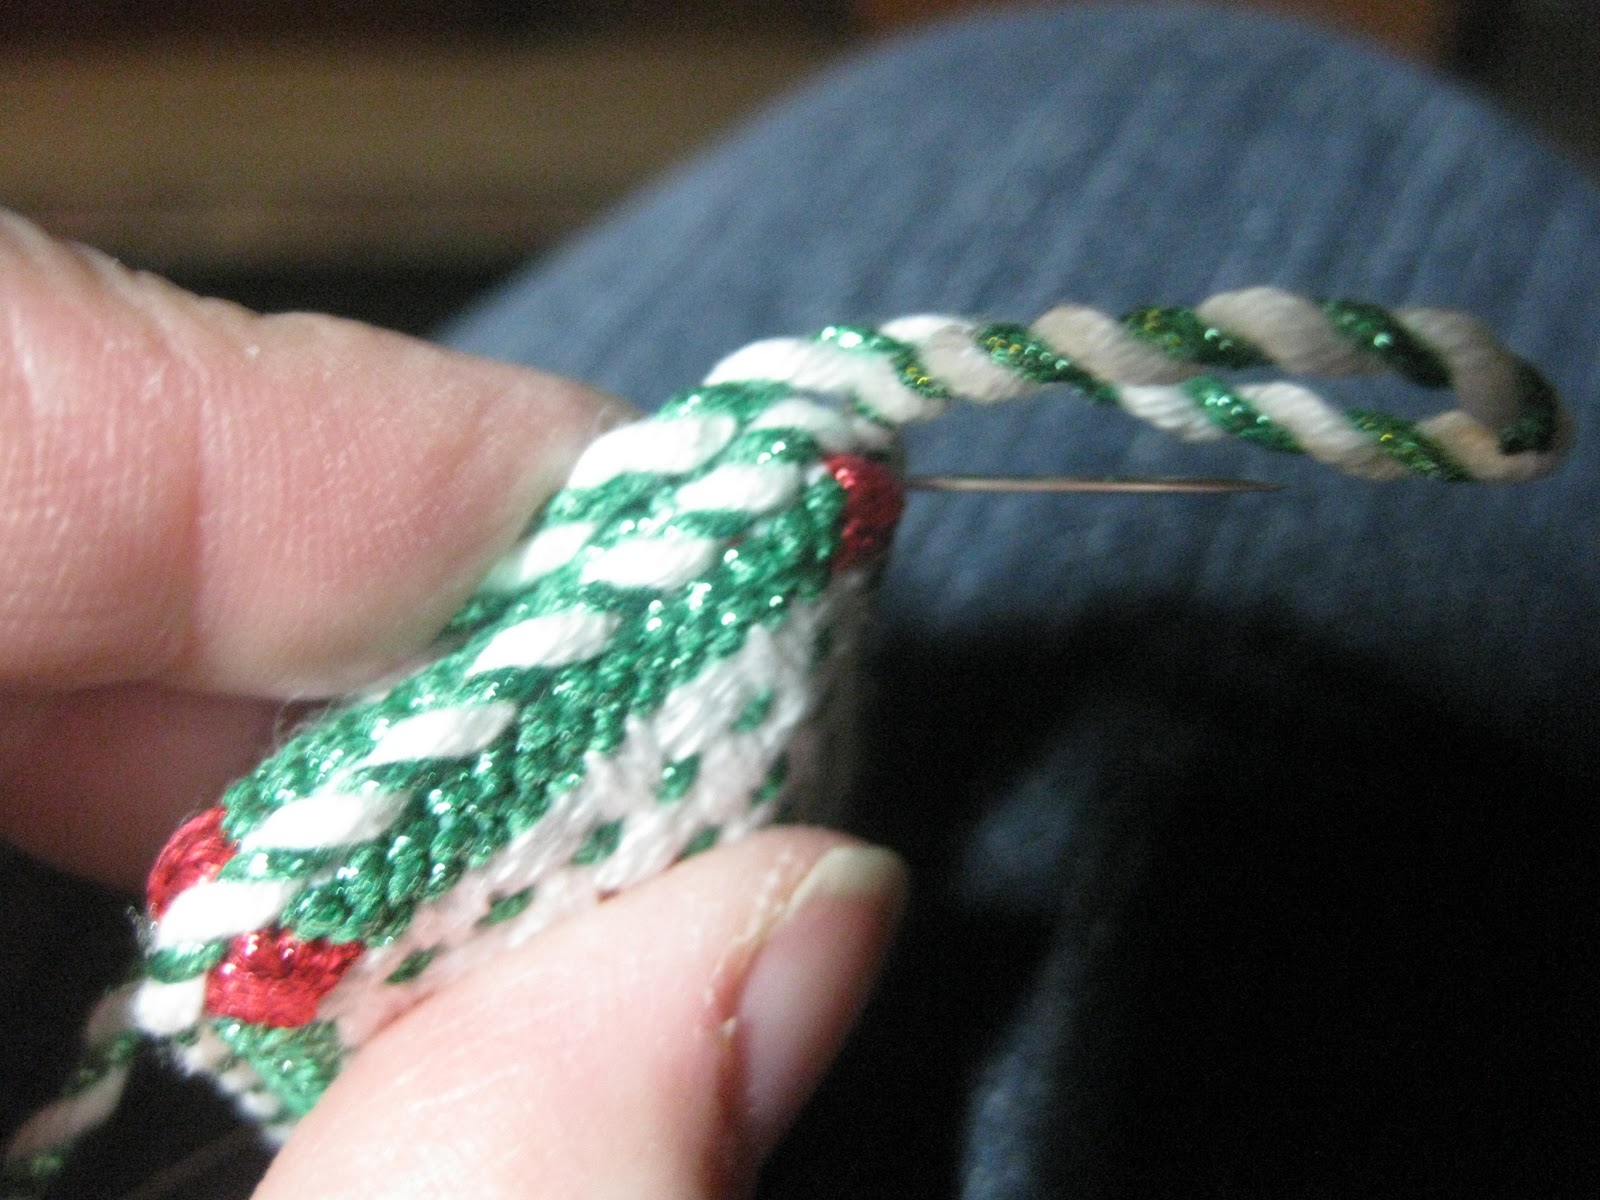
Now back at the top I stuff the rest of the cording into the small opening, leaving a hanging loop, before closing and firmly sewing the hanging loop in place.


Susan.......
ReplyDeleteFabulous! A wonderful tutorial, so well done.All your projects are beautiful. You are an amazing stitcher.
Warmly,
Jody
http://www.jodydesigns.com
http://jodydesigns.typepad.com/jodyinthestudio/
Susan your instructions are great. The pictures are so helpful. Would you mind if I printed these up to share with my guild? Thanks, Nancy
ReplyDeleteThat's brilliant! I think I can even do it (I'm not a sewer at all, just a stitcher). May I ask how you made the cording?
ReplyDeleteVery nice. May I ask a couple of questions? When you say "When I stitch on the cording I have the needle coming out into the piece as shown," where does the needle come out from? Where does it go next? My old eyes can't tell in the pictures. Thanks. --Dale J.
ReplyDeleteDale, I use a long needle to attach the cording and at the beginning start underneath the cord. Come up perpendicular to to the ornament neatly between the cording. Now go down with the needle Going back through the cord in though the edge where you whipped stitched the 2 layers together and the needle coming out in a hole of your canvas. Going back up, go back into this same canvas hole so the thread does not show and at a angle come up through the joining and then neatly through the cord., Now ready to repeat. Hope this helps. If not send me an email with your phone # and I'll talk you through it.
ReplyDeleteThankyou for these instructions! Now I know what to do if I ever do make a small ornament or a fob :-)
ReplyDeleteLove this, and your instructions are so easy to follow. Where do you find patterns for the smaller ornaments? I have a cross stitch book with patterns for tiny ornaments and I have been thinking I would try those in needlepoint.
ReplyDelete