Before I start I should add that this would also work for a prefinished pillow or even the likes of a demin jacket.
The hardest part for me is the cutting of the canvas, my little one Amanda was saying "mom you shouldn't cut it!". My nerves must have been showing.
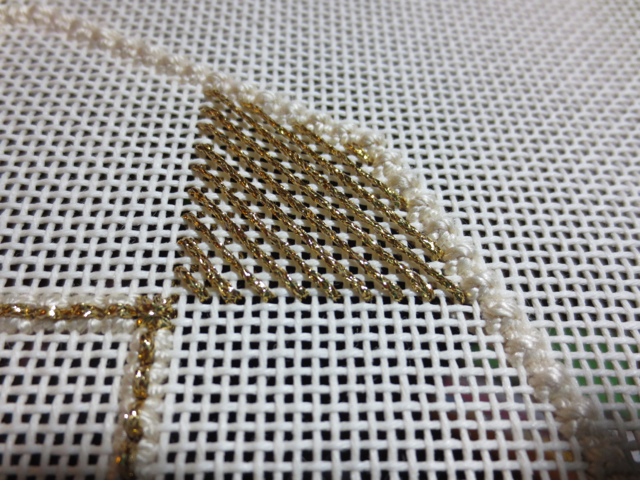
For a project with shaping like this heart you will also need to clip any curves and inside corners.
Finger pressing next. This piece has a sharp point which is pressed first across the horizontal and then the sides and pressed in too. This may lead to the necessity of trimming more from the excess canvas as was the case here.
Pins hold everything is place.
This is the bag Amanda and I choose for the heart. The finished bag will be a birthday present for Fiona with a new swimming towel inside. I loved the canvas handles and gromits. It is surprislingly well made with a lining, zip and even welting at the base. Found it at Meijers (a local grocery store). I had also considered a straw bag but the gromits sold it for me.
Here you can see everything pressed and pinned.
In this case I wanted a casual placement so no headaches about it being centred.
Using the pins that are already in place I then pinned it to the bag.
I attached this using quilting thread but for a novice I would suggest using invisible thread, particularly if you are not going to add a cording.
The knot is buried under the needlepoint and the piece is then attached using small slip stitches.
I only take a thread or two so as to reduce the amount of stitching that shows on the inside of the bag.
If you intend to add cording as I did leave a gap for the ends of the cording to be tucked into. I did this at the inside corner at the top.
At this stage I did briefly consider not adding a cording, however I always think they look more finished with a bit of trim.
I made this cording using DMC floss that I'd used to attach the spirals. There is also a small amount of silver thread for bling.
The same thread is used to attach the cording with the stitches burrowed into the needlepoint.
Finished, as there was some cording left I added it to the zipper pull.
Beginning to end for this finishing project was about 90 minutes with a cost of $15 for the bag. Not bad if I do say so myself.
Oh and then Amanda and I went got the beach towel to round off this gift.